Bugger off! RallySharkBug Build Part One
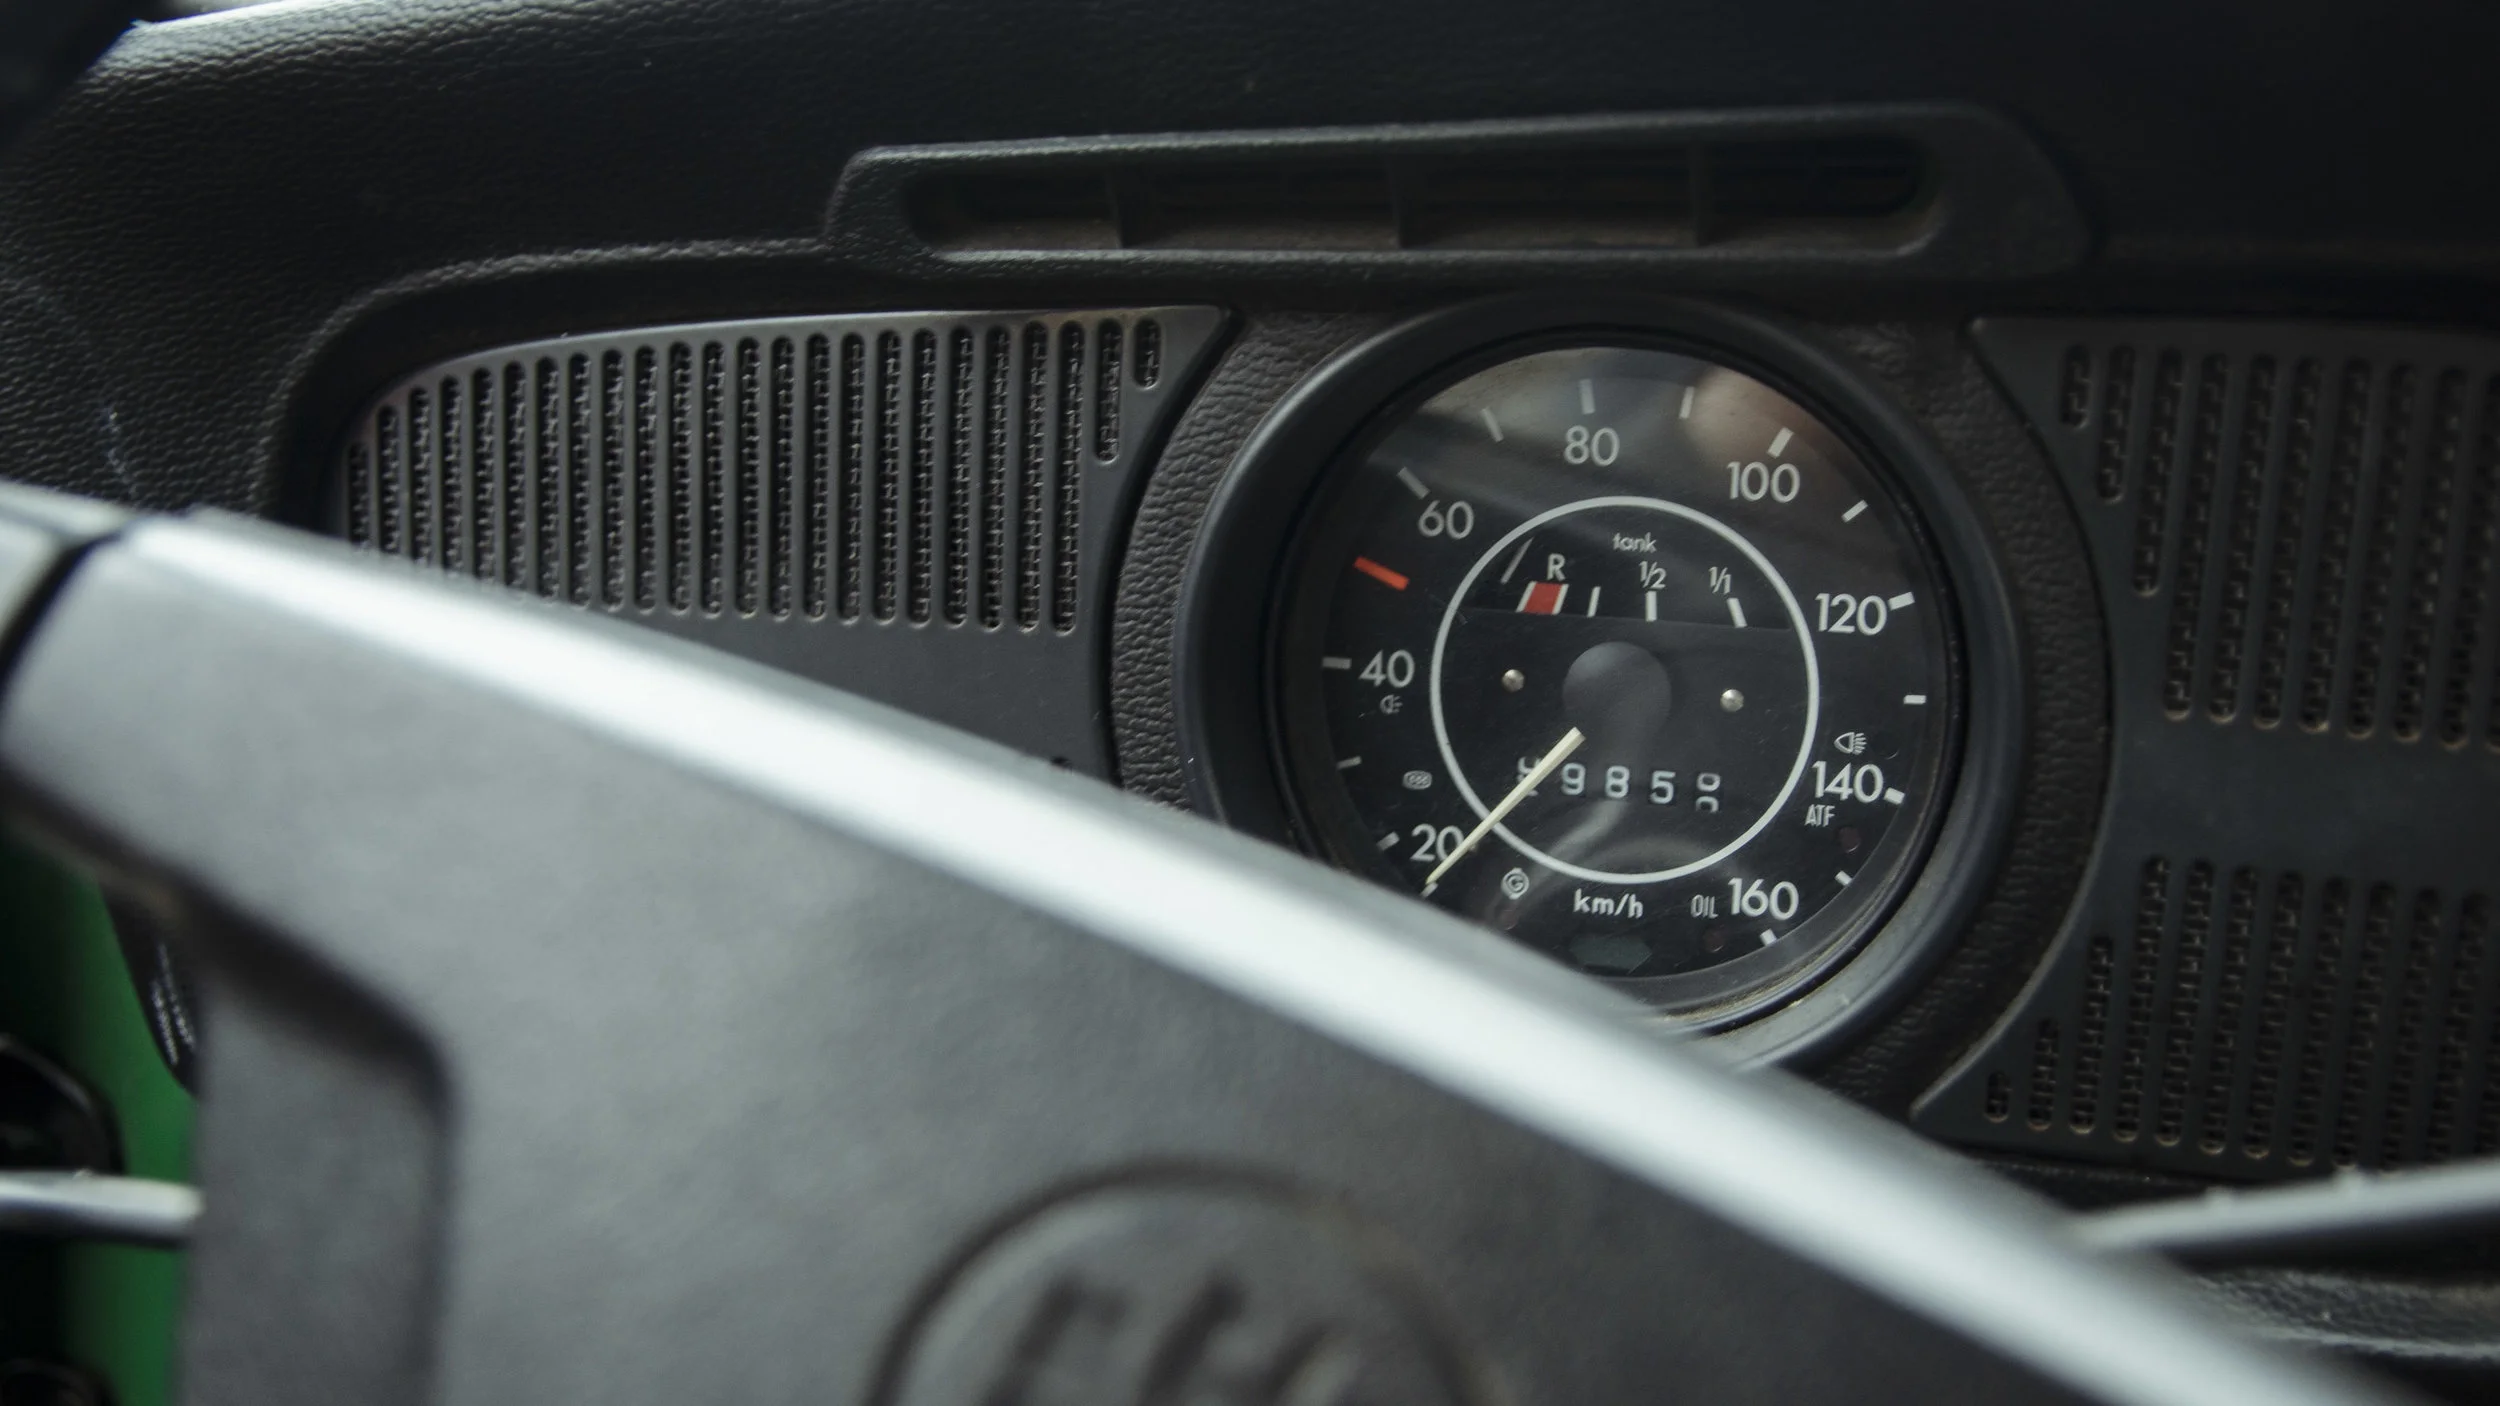
Until I began this project, I had no desire to do it. Underpowered, underperforming, uncomfortable, undersized, and undesirable. These are the words that came to my mind when I first approached the watermelon green 1972 VW 1302 Beetle. I was a victim of popular opinion. To look down upon the humble Beetle is damn near required if you are a muscle car enthusiast. The Beetle is the anti-muscle car. Small and lightweight, the car only has 40 odd horsepower. No radiator, no coolant, and no need for speed. Yet, there I was. Arms crossed with one hand under my chin thinking hard about what I could do with the disused bug. I had recently driven a stock ‘73 1303 Super Beetle and had begun to break down my automotive bigotry. I was willing to give it a chance. The green 1302 will be transformed into a lightweight gravel and dirt road carver. A master of the Scandinavian flick. The Beetle will become the Rallyshark. A bare bones budget build designed to attack the lightly used farm roads of the Hälsingland.
The first step was to rip out the interior. We needed to get a better look to see if the pan frame was in good shape because the edges of the car where the body met the frame definitely were not. Years of neglect sitting in the Swedish weather had left the edges of the car ready to slice and dice a mechanic’s arms. Rusty edges ready to ambush the unweary. The first battle came when it was time to remove the seats. Rust and grime had worked its way into the seat rails and the simple task of pulling them became a frustrating endeavor. We hammered and pushed and hammered and pushed until the WD-40 soaked seat rails inched their way free. With the seats gone, we were able to look at the freshly carpet free floor and discern the potential damage. Happily, the Napoleon hat (the structural member where a transmission tunnel would normally go in a front engined car) was in good shape and there was minimal rusting on the floor itself.
The next step was to remove the fenders. Exposed to the elements, the fenders had been whittled down over time like a shield under a barrage of arrows. Half of the bolts had rusted free so removal required less time than expected. Once again, we were relieved to see the body itself wasn’t too bad. The car originally was to have new fenders replace the old. The fenderless look grew on us though, and now the build will have its tires open to the world. While strictly unnecessary, wider and taller rear tires are a must for an aggressive hardcore look. We chose 16 inch diameter 255 mm wide and 55 mm tall tires. We temporarily put some dry rotted tires of the same size on just to get a feel of the look. We will keep the original skinny tires up front to maximize turning ease and feel. We replaced the steel engine lid with a radwood worthy Porschestyle fiberglass replacement. While the wild bodykit component may be a bit dated during today’s California style minimalist lowered bugs, We love it and will be adding scoops, intakes, and flair with carefree vigor. The RalleySharkBeetle will be a car to laugh in. Or even at. Its sole purpose will be to have a good time. Therefore, a goofy non traditional exterior will fit perfectly with the cars end goal.
The real appeal of the Beetle is the ease of repair. The car was designed so so long ago for a guy we won’t talk about (sorry, if you don’t know who it is). Removing the engine should have been a breeze. Four bolts for disconnecting the transmission. Two hoses for the heater. Two wires for the heater control. One cable for the accelerator. A few minutes to disconnect other wires and components and BAM. The engine is ready to be lowered out of the back. I said should because the previous owner had done some silliness. One of the mounting bolts was reversed. Instead of being removed from the back like it should have been, the nut sat on the underside nestled up behind the clutch. The rusty quarter panels made reaching said nut a hazardous affair. Twisted up like a pretzel with safety glasses and my hoodie over my ears and mouth, the nut required two ratchet extensions and a rotating connecter to reach. Dirt and rust thankfully defeated by my Kenny from South Park appearance.
In under 8 hours in wet and rainy conditions with no prior experience on this vehicle, we were able to remove the whole engine, the interior, four fenders, and swap the rear tires. The next segment of this build will be taking apart the engine. We will inspect it for worn parts, doing our best to refurbish instead of replace. Hopefully, we will only need to give it a thorough cleaning and strip it so it’s ready for a refreshing revival of new paint and polish.


